
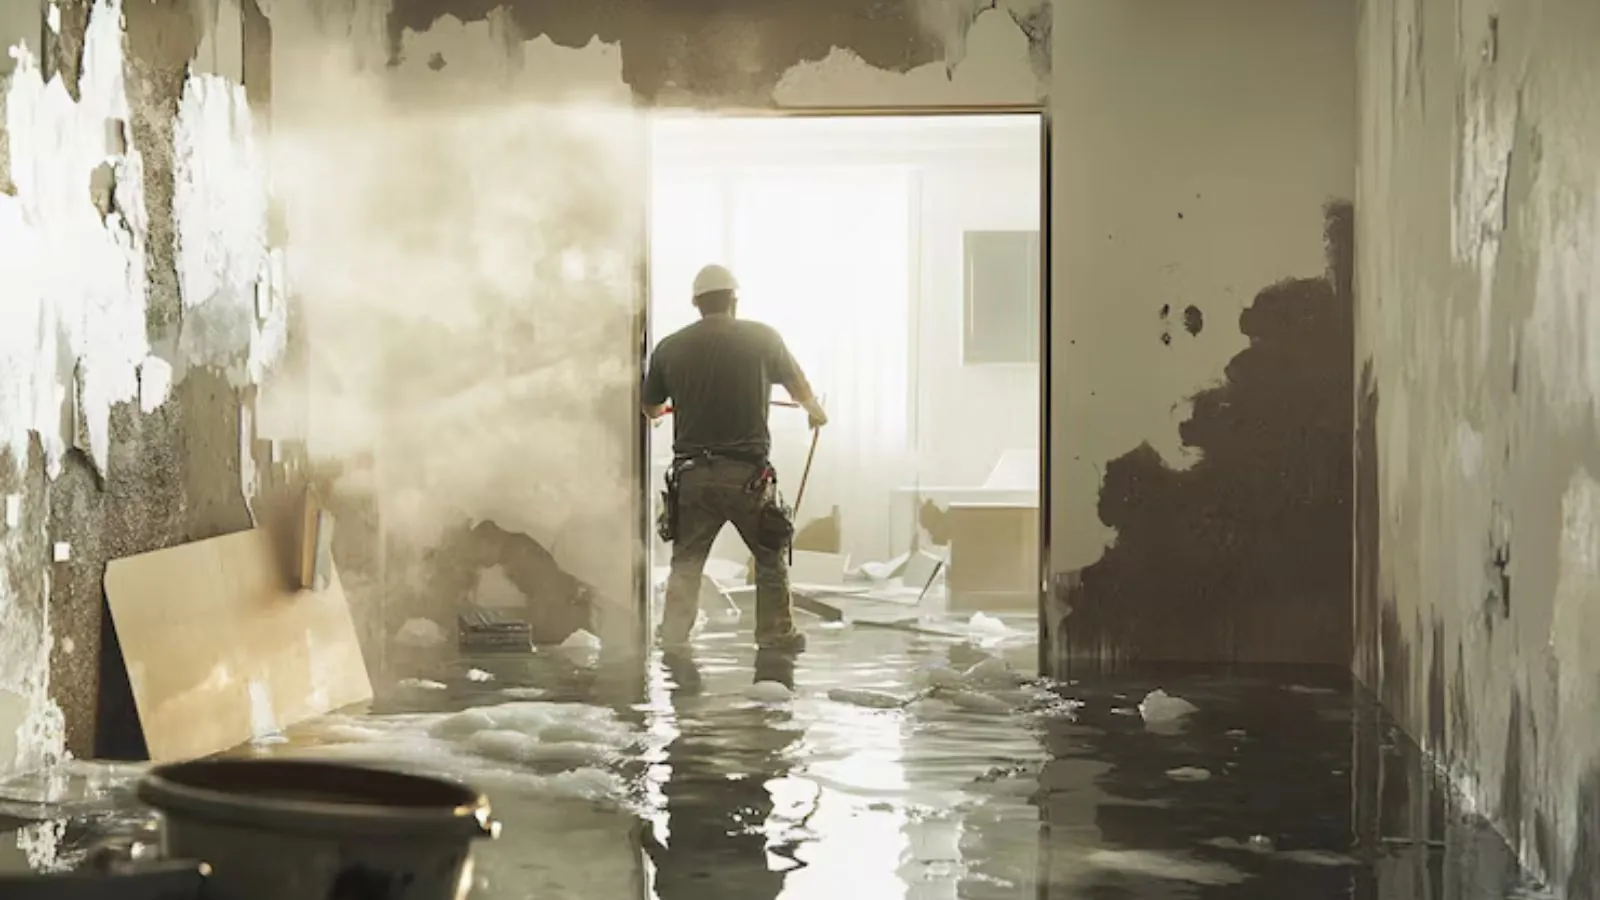
A water damage insurance claim goes more smoothly when you can show what the room looked like before cleanup, what was damaged, and what you spent. The order below borrows from state consumer guidance: record the damage, protect the house, report the loss quickly, and write everything down. Water damage insurance claim steps are mostly about records, not paperwork skill.
Nothing here changes what your policy says, and no checklist promises a result. Your insurer decides coverage under your policy. What you control is the quality of the evidence, and that is worth getting right on day one.
The claim steps in order
Do these in sequence where you can. If safety forces a change, safety wins.
Make the area safe and stop the source
Turn off the valve at the fixture, or the main, as long as you can reach it without wading. Water around outlets or a panel changes everything: stay back and phone the utility or 911 about electric or gas hazards.
Photograph and video before cleaning
Capture every wet room, the source of the water, and the high-water mark on walls. Take wide shots first, then close-ups, and a slow video walk-through with you narrating the date.
Notify your insurer
File as soon as possible. Write down the claim number, the name of everyone you speak to, and the date, then confirm key points in an email.
Protect the property from more damage
Reasonable emergency steps like water removal and drying are usually expected of you. Save every receipt for emergency work.
Build a room by room inventory
List each damaged item with its age, description and where you bought it, attaching receipts or photos where you have them.
Keep damaged property until settlement
Do not throw out ruined items until the insurer has seen them or told you otherwise. Photograph anything you must remove for safety reasons.
Hold permanent repairs until inspection
Wait for the insurer to inspect before you rebuild, replace flooring or close up walls. Emergency measures are fine, permanent repairs can wait.
What useful photos and video look like
Good claim photos answer three questions: where is the water from, how far did it spread, and what did it touch. Stand in a doorway and shoot the whole room, then step in and photograph baseboards, lower walls, flooring edges and the underside of any affected ceiling. Add one shot of a tape measure against the wet area when you can.
Video helps with the story, so walk slowly and speak. Say the room, the date and what you see. Back up the files to a second place the same day, since a phone is the one device that might also get wet.
Questions about your situation? Call the 24/7 line and describe what you see.
☎ Call (516) 845-9582Room by room inventory checklist
An inventory written while the damage is fresh is far more accurate than one built from memory a month later.
- Write the room name at the top of each page or spreadsheet tab.
- List furniture, rugs, electronics and stored boxes separately.
- Record brand, model, age and condition for larger items.
- Attach the receipt, a past photo or an order email where you have one.
- Note whether each item is damaged, wet but possibly salvageable, or gone.
- Mark which items are still on site and which you moved for safety.
- Keep the finished list in two places, one of them off your phone.
Emergency repairs versus permanent repairs
Emergency repairs limit further loss. They include stopping the leak, removing standing water, tarping an opening and starting structural drying so wet framing and subfloors do not stay wet. Permanent repairs, such as replacing cabinets or closing a wall with new materials, are what the insurer wants to inspect first.
If a contractor needs to cut into a wall to dry it, photograph the opening before and after. Ask for written notes on what was removed and why. Those notes tie the work to the loss.
Keep a paper trail
Think of the paper trail as five separate piles. Each one answers a different question if the insurer asks.
| What to record | Where to keep it | Why it helps |
|---|---|---|
| Photos and video | Phone plus cloud or drive | Shows condition before cleanup |
| Receipts for emergency work | Folder or scanned set | Supports reimbursement requests |
| Conversation log | One notebook or note file | Shows who said what and when |
| Follow-up emails | Saved email folder | Puts verbal answers in writing |
| Contractor scope and daily notes | Shared folder | Links work done to the loss |
Drywall, trim and finish samples
When wet drywall and wall finishes come out, keep a small labeled sample of the material and photograph it next to a ruler. Samples help an adjuster identify what was there, such as thickness, paint finish or a specialty texture. Bag them and keep them with the claim file.
Do the same for flooring edges, trim profiles and any tile you cannot match from a store.
No set deadline does not mean no deadline
No fixed filing date appears in the state guidance, yet the policy itself can impose notice and proof-of-loss timing. Read that section after your first call, and ask your insurer to confirm dates in writing. For FEMA aid, contact FEMA directly, since that is a separate process from your insurance claim.
Why documenting early matters around Port Washington
The state's advice reduces to a short routine: film or photograph first, list belongings room by room with receipts, hold on to damaged goods until settlement, and hold off on permanent fixes.
A storm on this peninsula can bring wind, rain and rising water in one night, so the habit of separate photos pays off. Photograph each type of damage separately so the cause of each loss is clear.
Flooded roads in early September 2021 showed how fast a rain event can pile up losses of more than one kind. Households in Roslyn and Greenvale on the same North Shore storms face the same documentation job. Keep your claim file in one folder, paper or digital, from the first photo onward.
Frequently asked questions
What should I do first after discovering water damage?
Stop the source if it is safe, stay away from electrical hazards, then photograph and film the damage before cleaning. Call your insurer as soon as possible after that.
Do I need to keep damaged items?
Generally yes, until the claim is settled or the insurer says you can discard them. If something must go for safety reasons, photograph it first.
Can I start repairs before the adjuster comes?
Emergency steps that limit damage, such as water removal and drying, are normal. Wait on permanent repairs until the insurer has looked, and save every receipt.
How long do I have to file a water damage claim?
State consumer guidance says to file as soon as possible and names no single deadline. The policy can carry its own notice rules, so read that section and ask the insurer.
Does it matter whether my street is in a village or the unincorporated area when I file?
The claim goes to your insurer either way. What changes is the permit stage at repair time, which depends on your street, so file any permit paperwork alongside the claim.
Is a drying log useful for a claim?
Yes. Dated readings and equipment notes give the adjuster a timeline of wet materials and the work done on them.
Ready to talk it through? Call the 24/7 line.
☎ Call (516) 845-9582